Makeup tutorial with Daniela Gozlan.
The day before we shot this tutorial, I rolled up to James’ school looking so nasty that his teacher didn’t even recognize me. “You’re here for…. James…??” she mouthed, squinting through the window. I’d like to think it was because of my new glasses, but deep down I know the truth. Needless to say it was a very humbling experience and a reminder of the power of a face beat. Since I am not a Kardashian and can’t have a pro glam me every day, I asked Daniela Gozlan to teach me (us!) the tricks of the trade. This look is my personal favorite because when it’s finished, my husband will do absolutely anything I say — a weapon we should all have in our arsenal.
I present to you, the smudgey-brownish-black-winged-eye-get-anything-you-want look.
Step 1:
Prep skin. V important when you’re dry and crusty from allergies like me. I did my morning skin prep, and Daniela used Chanel Hydra Beauty Micro Serum and La Solution 10 de Chanel.
Step 2:
Highlighter and foundation. Charlotte Tilbury Flawless Filter and Pat McGrath Sublime Perfect Foundation. D told me I needed full coverage which was a real kick in the nuts but I love her honesty. She built the coverage layer by layer and used a wet beautyblender to make sure it was blended perfectly.
Step 3:
Lots of different shades of eyeshadow! This is the part I always fuck up. I normally slap on one or two different browns and call it a day but Daniela slowly built the color with a million different palettes (ok four). First was a light shade all over the eyelid using the Dior Underess Palette #647 (currently sold out but #649 is similar). Then she added a little more shimmer with the Dior Backstage Palette, followed by a little outer crease shading in an ashy light brown/grey using the Chanel Tisse Rivoli palette (this one is also sold out I think but #268 is similar) (also, why do all of these palettes have such weird names?). She finished the crease with a slightly deeper ash brown shade (the top right color) from the most gorg Lisa Eldridge Beauty Cinnabar Palette. I’m guessing you don’t need ALL of these for this look and if I had to choose one palette it would probably be the Lisa Eldridge one. The key is building slowly and blending, just like with foundation. Don’t slap on in two seconds or it won’t look profesh.
Step 4:
Linerrrrr aka the secret to getting my husband to follow me around like a puppy. D started by smudging a deep brown color from the Makeup by Mario Palette along the lash line. This part doesn’t have to be perfect, just make sure you tap the brush so the shit doesn’t fall on your face. Use an angled brush to go over it for a more defined line.
Step 5:
Next step, we popped on some natural lashes by the queen herself — the Daniela Gozlan Better Lash. I love these because they’re less finicky than the individuals but they don’t give the prom queen strip lash vibe. You can get the wing look by using a slightly longer lash on the outside. Daniela sometimes puts a single individual on the inner corner, but we didn’t this time and I think it looked just as good. Use tweezers and get as close to the lash line as possible. She said you can even pop these underneath the lash which I'm not game enough to try but is meant to be pretty easy and natural looking. This might be a great idea if you already have a lash lift done.
Step 6:
Brows. I refuse to join the skinny brow trend. Not doing that to myself again. We filled in with the MAC Eye Brow Styler pencil in shade fling, then topped with the MAC Shape + Shade Brow Tint (also fling). A nice full brow is the move, don’t @ me I’m not changing my mind.
Step 7:
Chanel Gel Liner in Hyperblack. This is where we bring out the big guns. Daniela prefers this to liquid because she said it’s more foolproof, gives a nice clean line, and is easier to fix if you make a mistake. Use a teeeeny tiny liner brush and slowly draw over the lashes, bringing it to a wing at the outer corner. I think this part is the hardest so go slow and build if you have to.
Step 8:
Liner in the waterline — Make Up For Ever Artist Color Pencil in black. This gives a sexier eye shape which I’m all about. Daniela likes to do one coat, have you squeeze your eyes together tightly, and then do another, which keeps the liner firmly in place. The color that comes out on the outside when squeezing the eyes needs to be smudged quickly for a sexier, lived-in soft smokey look.
Step 9:
Bronzer baby. The secret to looking like you don’t stay inside all day hiding from the sun and pollen. Again, BLEND (until your hands fall off). No one likes a stripey b. Cheek bones, temples etc. We aren’t going for that overly contoured skinny nose look so go easy. This one is Huda Beauty Tantour Contour & Bronzer Cream.
Step 10:
Powder under the eyes to stop it from smudging. DON’T powder your whole face, just under the eyes, sides of the nose and in between the eyebrows, and if you’re sweaty like me the upper lip. D used Haus Labs Loose Setting Powder and Pat McGrath Under-Eye Setting Powder in light.
Step 11:
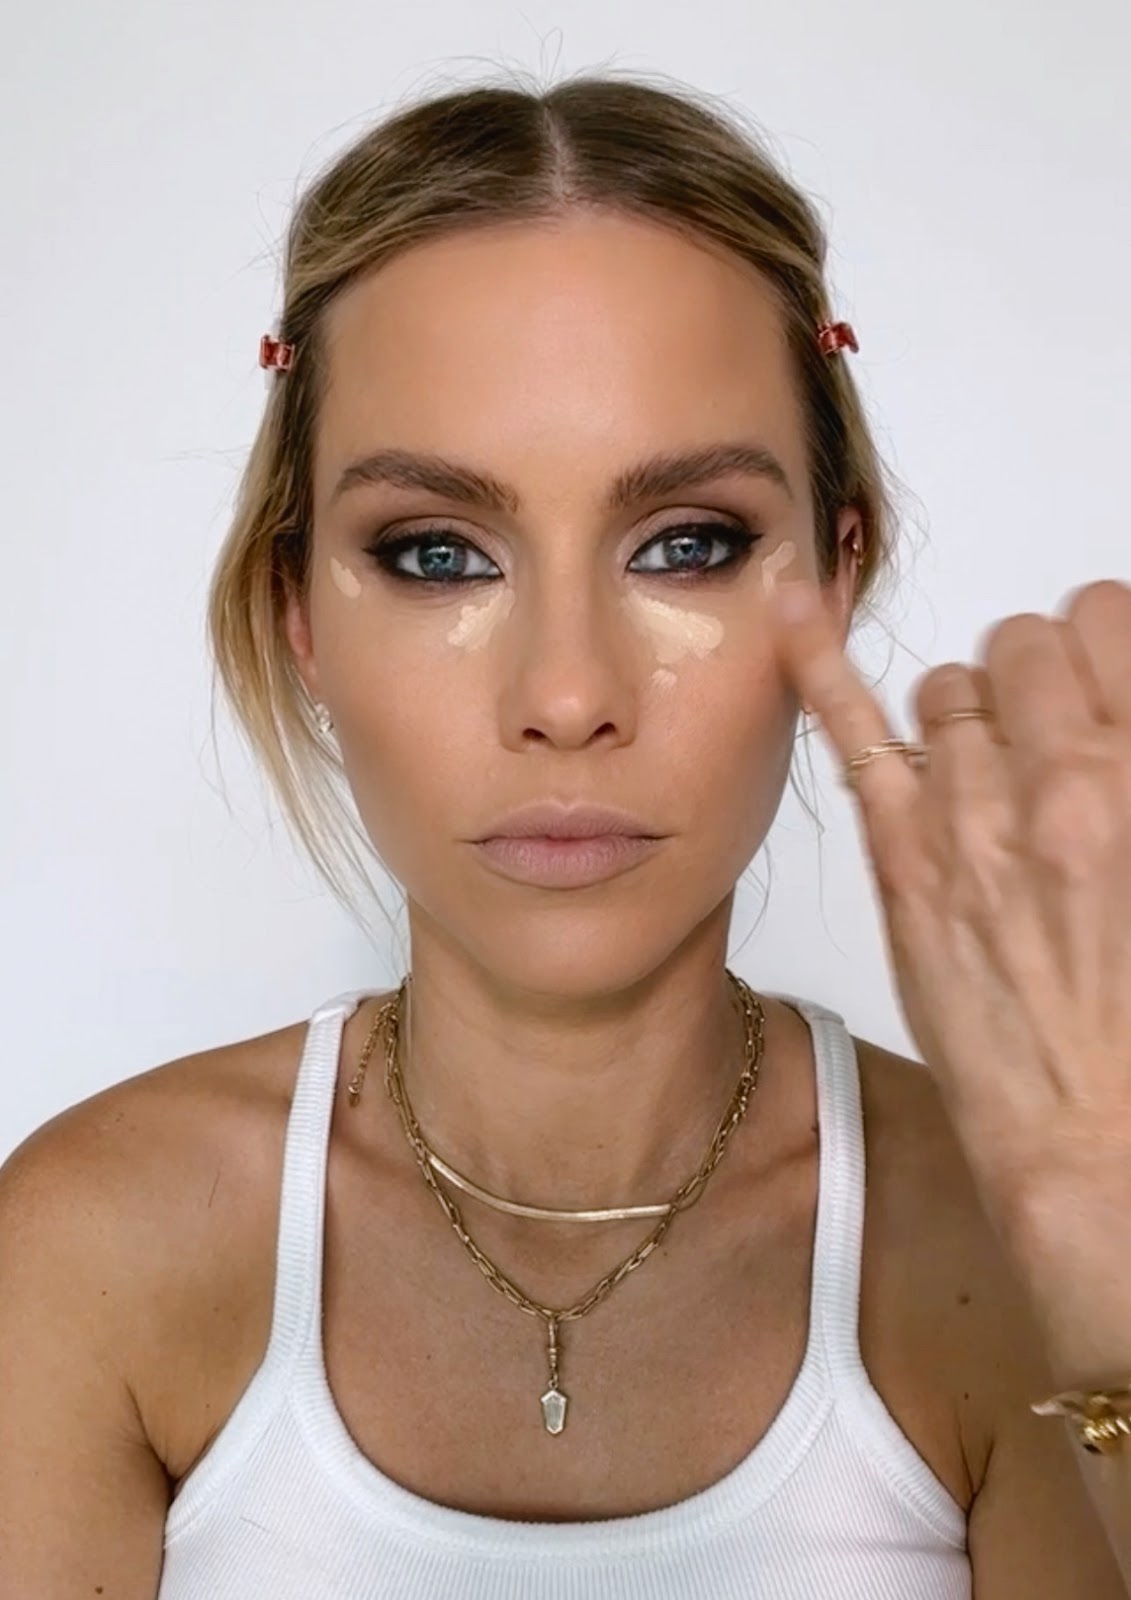
Now comes my personal favorite beauty product, concealer. Less is more apparently. Don’t swoop around the whole eye, just the discolored areas. Inner corner, outer corner, a little around the nose and mouth. We are not trying to look cakey here, just rested and youthful (which I am not). Blend with a beautyblender just like we did with the foundation. D loves the Hourglass Vanish Concealer which she used here, I personally love Kosas.
Step 12:
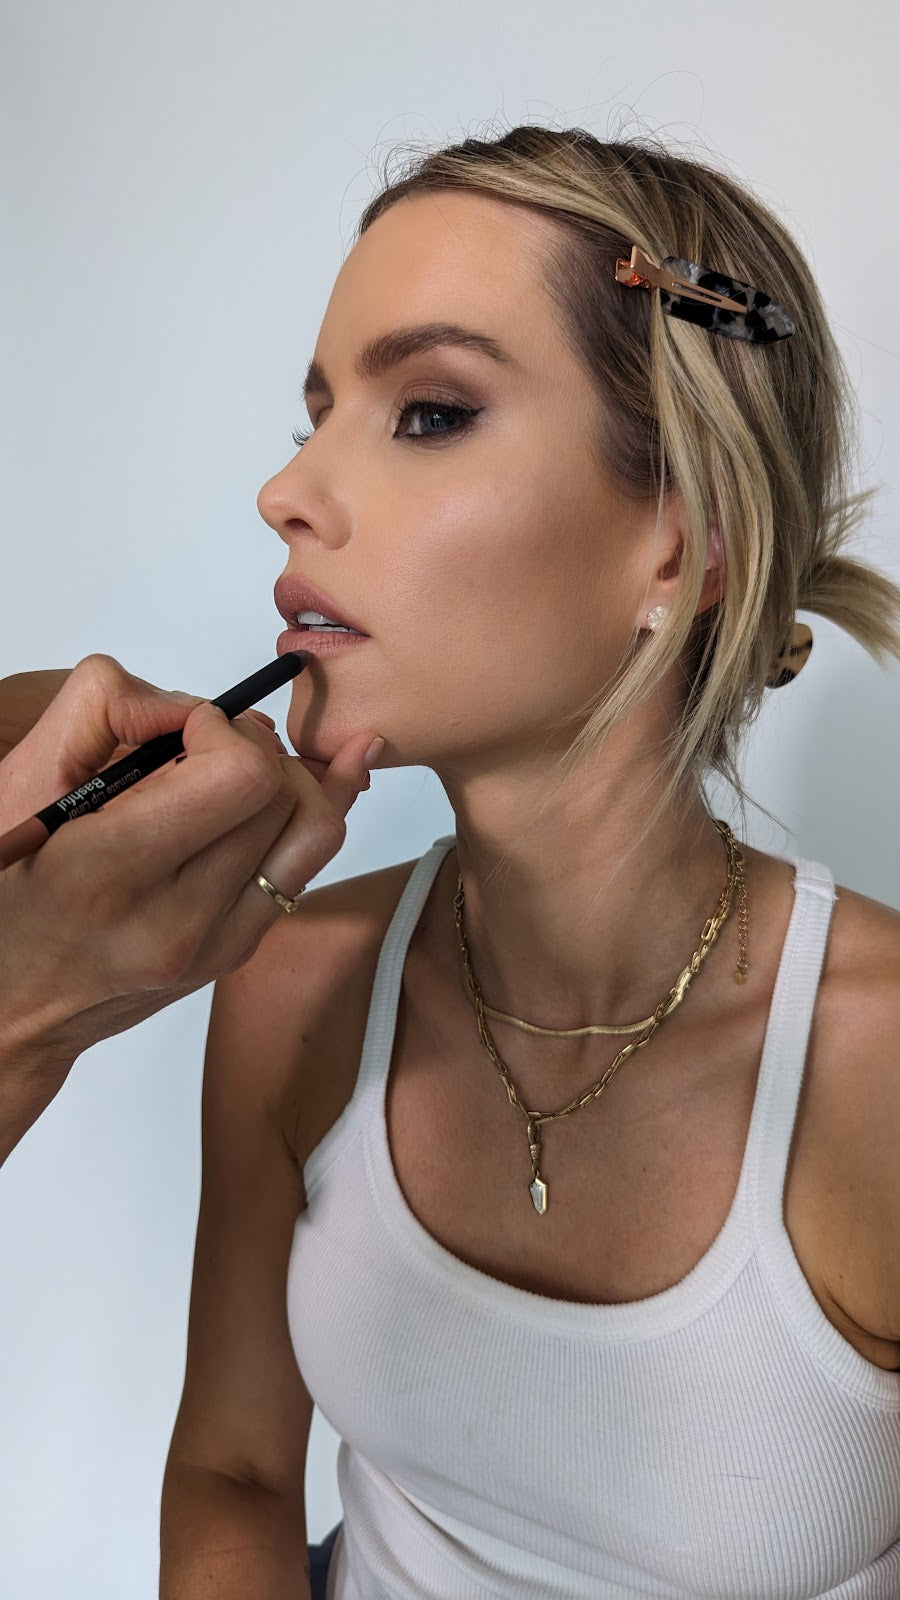
Lips! Daniela’s Crumb Cake liner is glorious. I use this all the time. Her secret is keeping the liner on the skin to warm it up, then lining slightly outside the lip little by little. This keeps the line smooth and straight. No need for lipstick, just use the liner to fill in the lips when you’re done. Just make sure your lips are moisturized and the pencil sharpened.

Step 13:
Mascara is a must. This is the Ilia Limitless lash Mascara and it doesn’t smudge. D’s secret is applying a coat to the bottom lashes using a fan brush. Such a great technique because you can do a very light coat and it doesn’t go everywhere.
Step 14:
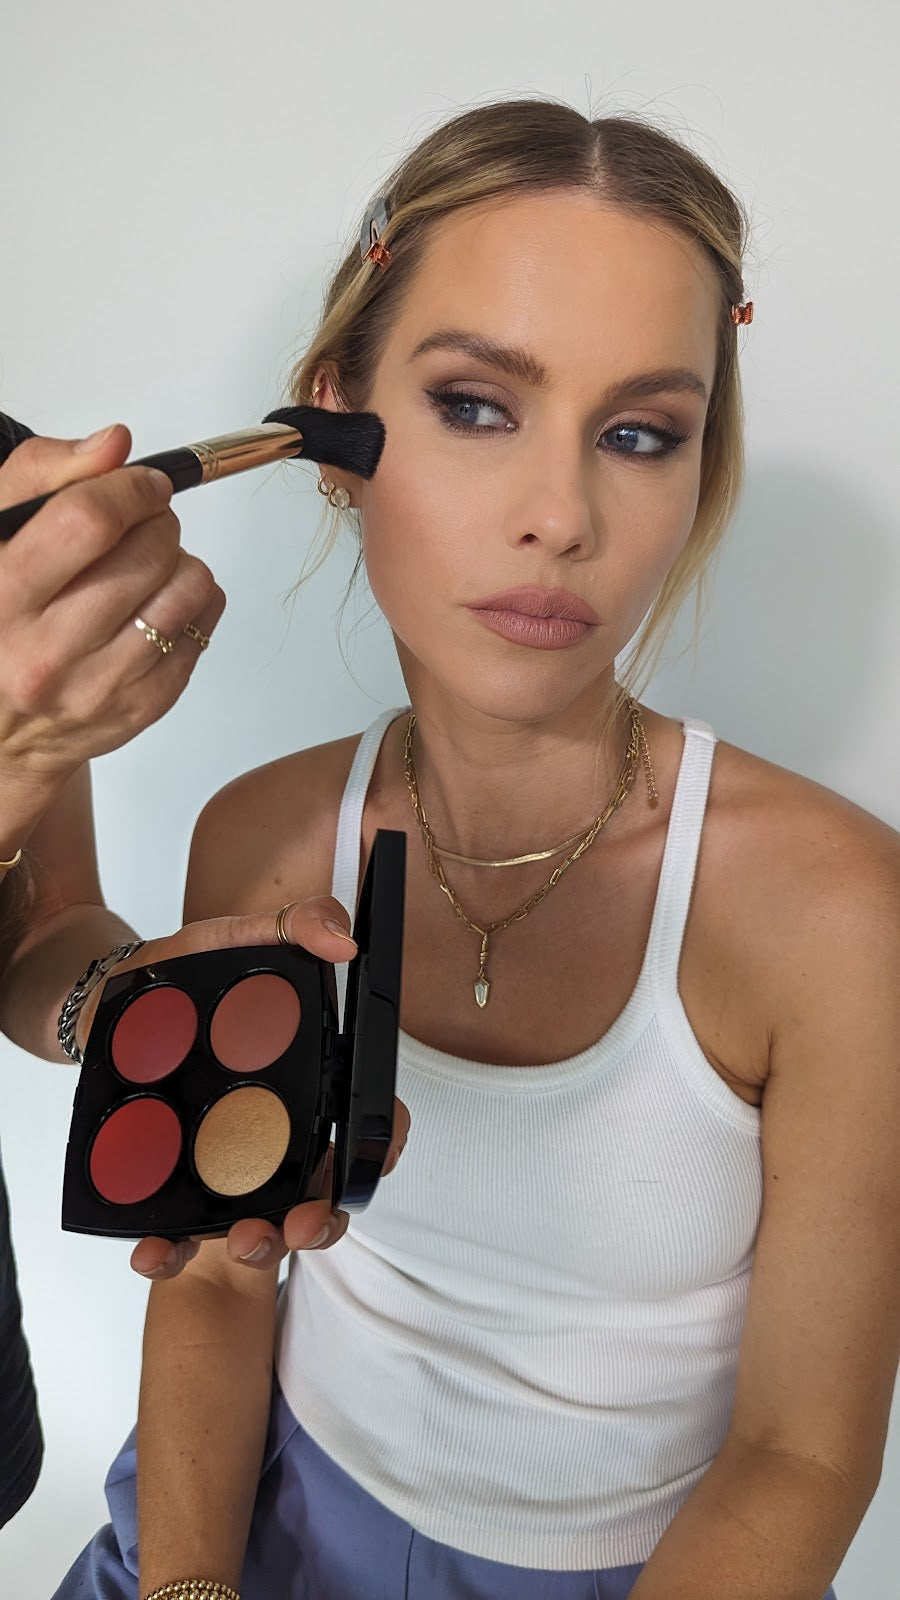
Almost there I promise! Chanel Les 4 Rouges Yeux Et Joues Eyeshadow and Blush Palette (say that four times fast). This palette is so pretty I’d like to frame it. I am a firm believer in a rosy finish so I was happy when Daniela whipped this cutie out. Just a light dusting on the upper cheekbone (not the apples). She also combined a little of the gold to act as a highlighter and BOOM we’re at the final step….
Step 15:
Finishing spray! I don’t really know why we have to use this but I’m not an expert so don’t listen to me. This spray is the Skindinavia Setting Spray — Chanel please take note of this punny product name — and it was nice and light. My makeup stayed on all day so I guess it worked.
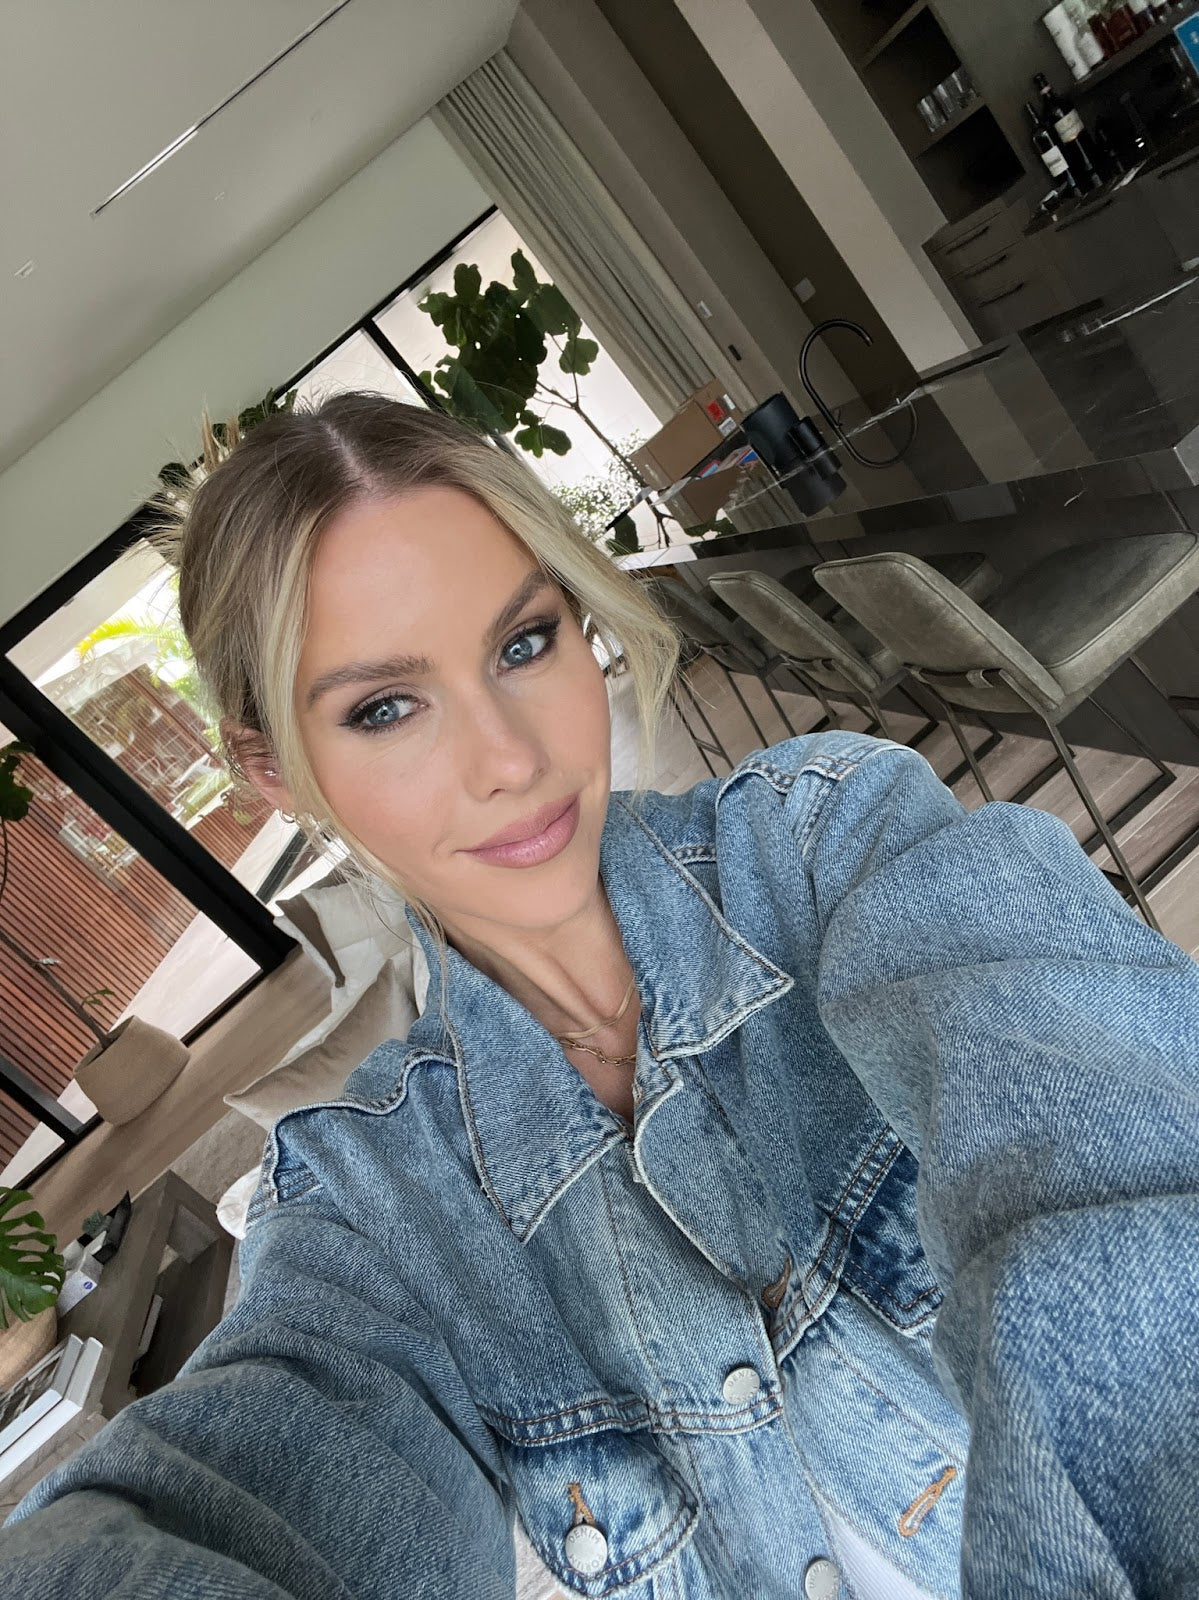
And there you have it! Go try this yourself and let me know how many times you get hit on.
C x
